Handy Hacks to Harness the Power of Teams for Education
Microsoft Teams for Education offers a wealth of incredible features with their Class Teams product. With so many great features thought it can be overwhelming.
Get the lowdown on when to use what so that you can optimise opportunities for learning and improve your workflow.
The best part is once you have things built out and humming along nicely, you can create your Class Team for next year using your current Team as a template – no need to reinvent the wheel.
Let’s get you set up for sustainable success!
Channels
When to use: You want to organise learning discussions and resource storage into dedicated spaces
How to use: The channel structure can be a bit confusing, so I’ll keep it simple.
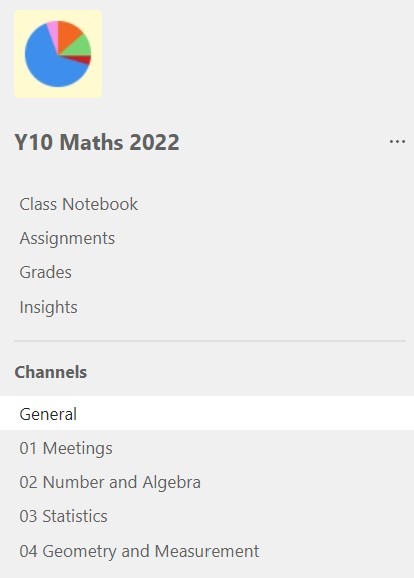
General is your default channel, so we keep that.
Add a Meetings channel which will allow you to keep scheduled meetings, meeting chats, and recordings all in one place without clogging up any learning-focused areas and there will be no confusion about where to join meetings during inevitable periods of hybrid/remote learning.
Then, add a channel for each area of learning that will happen throughout the year you’ll have that class. This means the Posts and Files for that channel will be directly related to that area of focus.
Pro tip: Using numbers before your channel names allows you to customise the order they appear in.

Channel Posts
When to use:
1 Make announcements to your students
2 Facilitate learning discussions
3 Promote collaboration among students
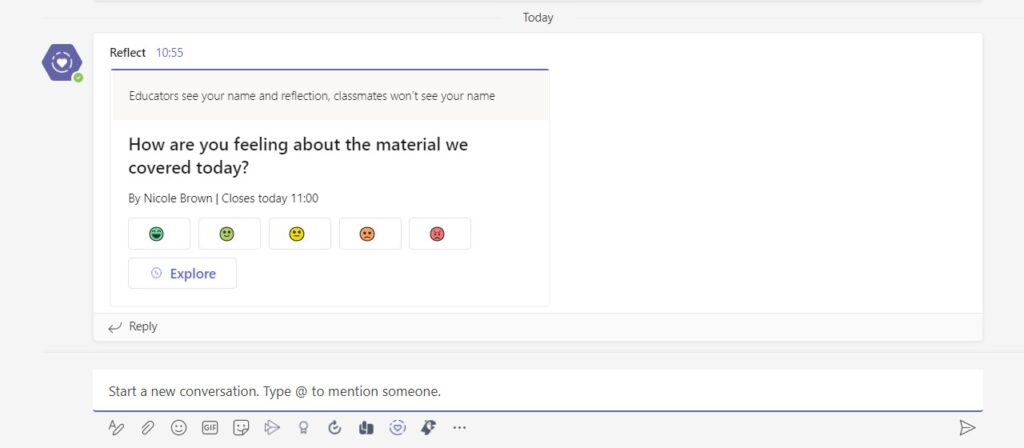
After creating your channels, you’ll now have a dedicated space to facilitate learner-driven conversation. Start discussions about upcoming assignments or engage in offline reflections about classwork using this space.
Remember to use the channel that the conversation pertains to – this ensures relevance and culminates in peer-to-peer crowdsourced knowledge at students’ level of need. Win, win, win!
You can even get fancy by using the Reflect tool or adding apps like Polly to collate student responses.

Channel Files
When to use: You want to share a view-only resource with students and they do not need their own copy.
The Class Materials folder is set up and ready to go by default inside the General channel. Just drag or upload to move your resources to a central, cloud-based location, no need to double up on storage.
You can think of your Class Team as the front of the filing cabinet drawer – what you see on the outside and inside – are the files, the storage for which is SharePoint. You can also add other folders and customise permission access for students so this is a one-stop storage solution.

Assignments
When to use: You are distributing work that students need to hand in.
Creating a task and setting work here allows you to add a deadline for submission. This date is added to student calendars so they can develop more responsibility for handing work in on time. Using Assignments also means you can develop a picture of student progress over time.
By giving feedback and using the Grades feature, the AI behind Insights will be able to provide more data to support you in flagging students who may need extra support.
Pro Tip: When creating the assignment, choose the option ‘Students edit their own copy’ for Microsoft files and your assignment will do the digital photocopying for you.

Class Notebook
When to use: You want to share master templates with students for them to easily annotate their own copy during a class.
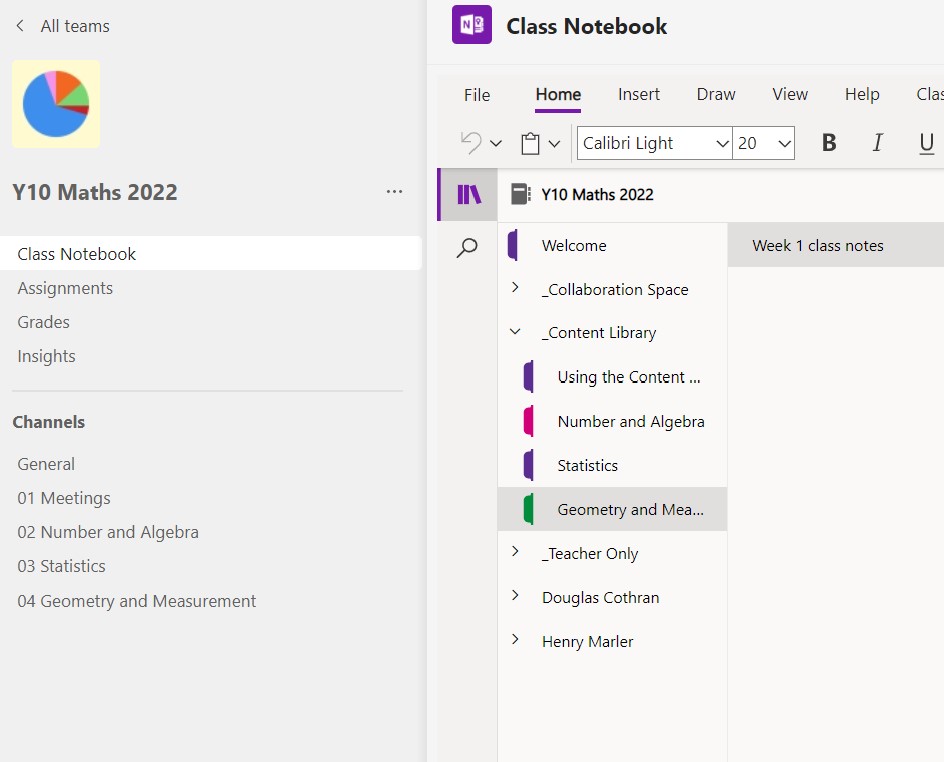
Content Library – one of the areas within the Class Notebook – is your digital photocopier you can use to share anything you want your students to annotate. You can distribute it to the whole class, individuals, or groups of students with just a few clicks while saving a mountain of paper – not to mention time.
Another handy hack is the Print to OneNote feature – just open up any print window and instead of a physical printer, you can select Print to OneNote and follow the prompts to select where the printout will appear in your Class Notebook!

Want more training in Microsoft Teams?


