Make your Flowcharts stand out with Canva
Everyone loves a good flowchart to help productivity or to understand processes around the workplace. Still, far too often I am left disappointed by the lack of wow or confusing graphics with many flowcharts. Canva is the perfect tool to use to help make your flowcharts stand out and have people able to follow the processes and procedures you have laid out. Let me show you how to quickly and easily create a flowchart with the ‘wow-factor’.
1. Create a New Design
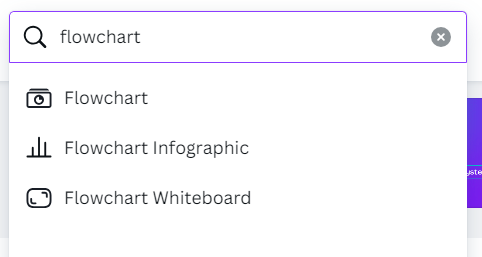
The first thing you need to do is to create a new design. Type in the word Flowchart and you will be given 3 different options. Depending on your needs, choose the right type of file type to create on. help the user navigate your instructions more easily.

I am going to use a standard “Flowchart” for the rest of the steps below, so if you choose one of the others, you may see different choices in templates and designs, etc.
2. Choose a Template
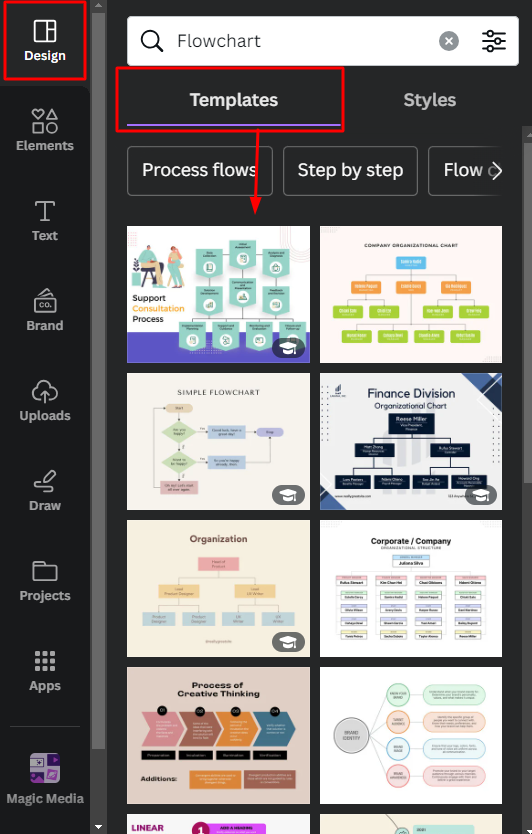
As you chose to use one of the Flowchart files, the templates for design are all defaulted to a flowchart, and you have heaps to choose from. Remember each of these is customisable, so focus more on the design elements you need for your chart and not the content of colours.

You can choose one of the Templates or you can start one from scratch. However, the templates make the creation process so quick and easy.
3. Add information for the flowchart
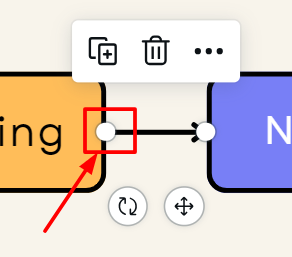
Once your template is created, add the information you need for your flowchart. Change the text in the shapes and reposition the diagram to represent the process or procedure you are trying to visualise. As you move shapes around, any connected lines and arrows will move with them. To disconnect them, click on the line and drag the white dot at either end away from the connected shape. If you want to connect a line drag the end to connect to a shape.

4. Personalise the flowchart
The next step is about personalising your flowchart. Choosing text, colours and elements that suit your task or use the Brand kit to make sure it fits your company’s brand. Really make it your own.

Something to note is that if you add a graphic and the option to change colours appears in the top menu when you are clicked on it, then you can change that graphic into your own colours. This is super helpful to keep the graphic within the theme of the flowchart’s current colours or your brand. There are a lot of graphics you can easily do this with, but not all.
4. Share your flowchart
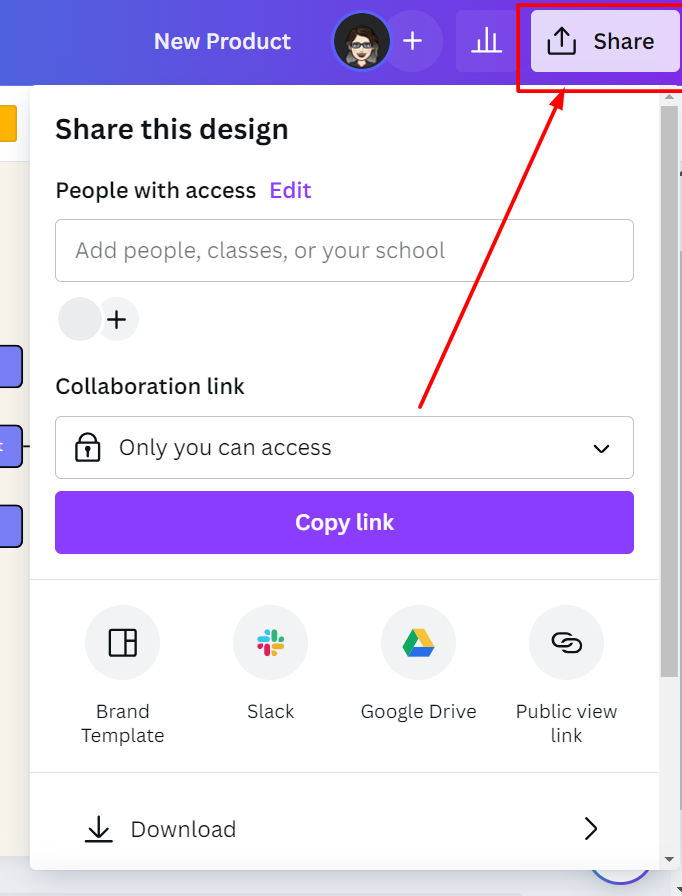
Once you are happy with how your flowchart looks, then it is time to share it with the people that need it. Simply click the Share button where you choose how you want to share it

Some of the most common ways to share are:
- Send direct to someone by adding their email and choosing if you want them to have editing, commenting or viewing access
- Download as either a PDF or an image file (to send as an attachment, print or paste it into another file)
- Save to Google Drive or Microsoft OneDrive
- Share on Socials
With the help of Canva, flowchart creation has never been easier.
Discover more ways we can help you use Canva to create and save time, connect with us.


