Google Slides is one of the most versatile apps in the G Suite suitcase and can be used very effectively to provide more student agency within your classroom. The ability to link within slide decks or out to other files can add another level of functionality for both the teacher and the student. This is part two of a three part series.
In part one of this series we looked at how Google Slides could be used to create a video playlist and help develop student agency with your students. In this post we’re going to look at how it can be used to create independence in the reading programme…
Part two: Create a listening post for your Reading tumble
There are now some great sites available like storynory and Wellington City Libraries’ Stories Online that you can use for your students to listen to stories being read aloud online. Often though, teachers want to be able have their students read along as they listen independently. TKI has a great site that provides teacher resource material, text, and audio files for a variety of Ready to Read books and stories from the School Journal resources.
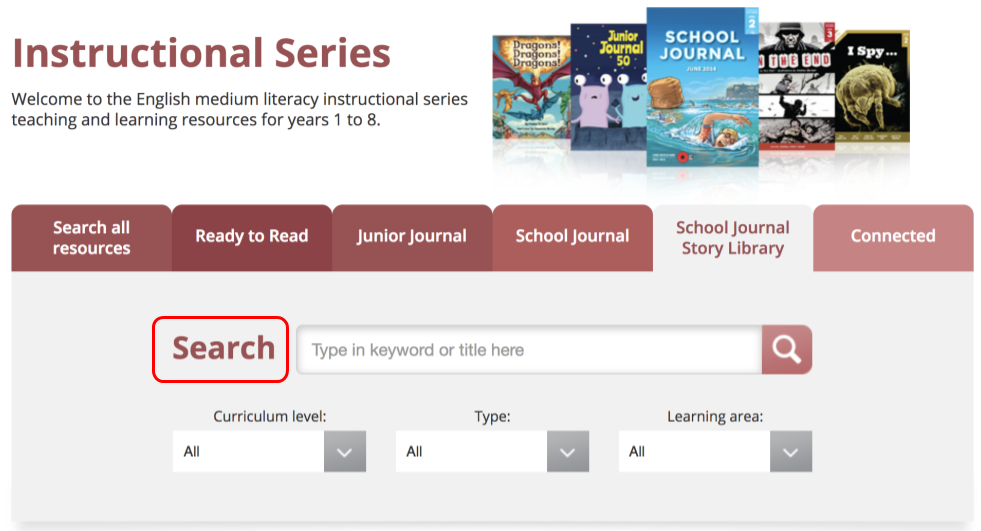
Using Google Slides you can use these stories to create a resource your students can use independently.
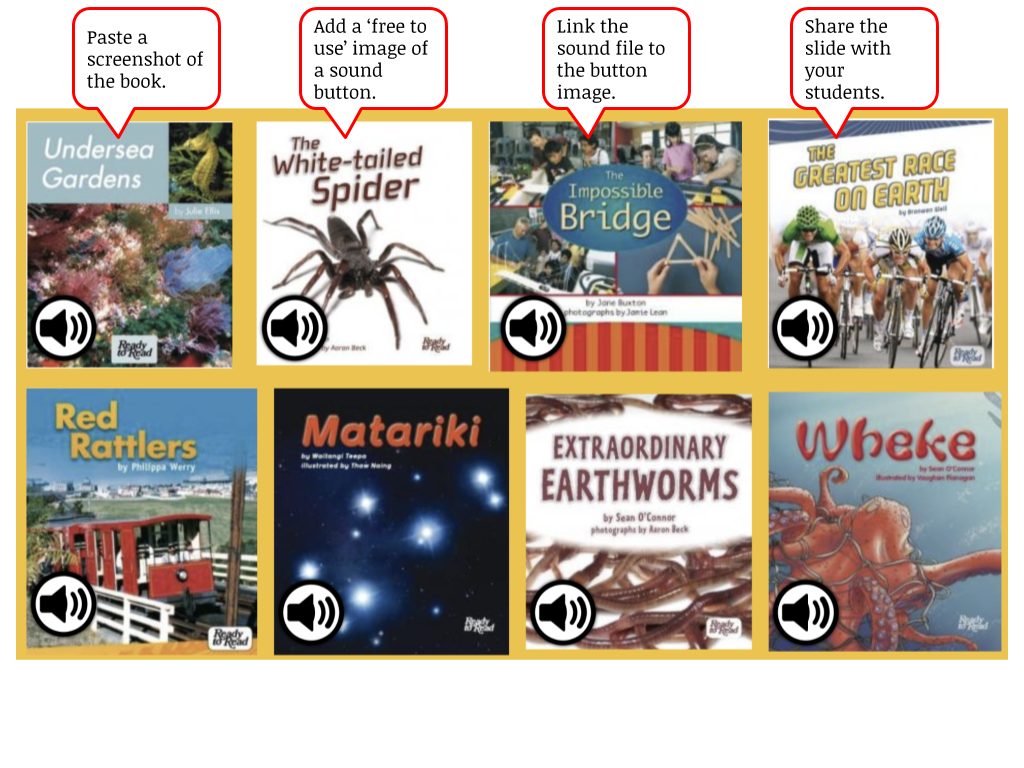
There is an example here of a slide deck containing stories from the Gold level of the NZ Curriculum.
[bctt tweet=”Use #Google #Slides to create a listening post for your reading tumble.” username=”donnagolightly1″]
Before you create your resource you need to:
- download the sound files from the website and drag them all into a folder that has the sharing permissions set to ‘Anyone with the link can view’.
- screenshot the book or the story so the students have a visual of the story and for those who struggle a little with reading, or younger students, they can easily identify the story.
- paste the screenshot onto a slide.
- add a sound button clip art image.
- group the screenshot and the sound button image together (this makes it easier to resize or move around later) and link the button image to the sound file.
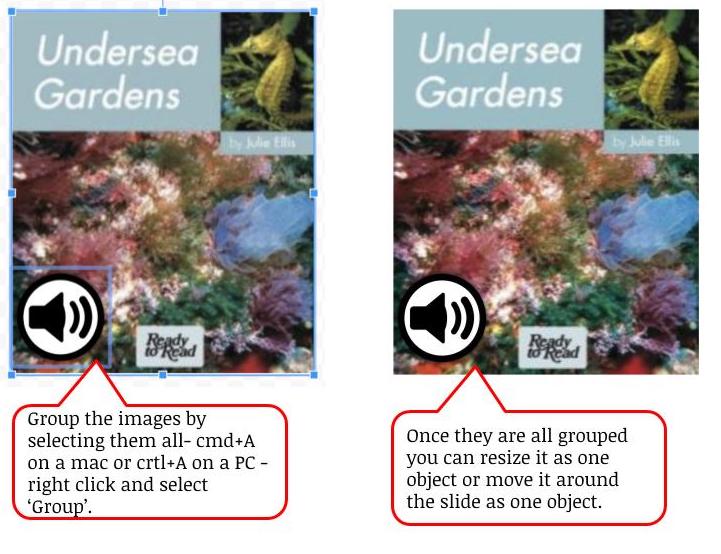
[bctt tweet=”Group objects together in #Google #Slides to move them resize and move around easily” username=”donnagolightly1″]
Now your students can open the slide deck, locate their story and listen to it while following along with the book or story in front of them.
If you are working with younger students you can have the slide deck open on iPads or Chromebooks ready for them to access. They don’t need their own accounts to use the resource – just log your devices in with a generic class account and share the slide there. If your students do have their own accounts, you can simply share the resource ‘View only’ with them or distribute it via Google Classroom.
What other ways could you encourage student agency through the use of Google Slides? We’d love you to share your ideas – or check out part one here.
You’ll find more tips and trick for using G Suite tools on our blog here.
