


In today’s fast-paced workplace, maximizing efficiency while minimizing time spent on repetitive tasks is

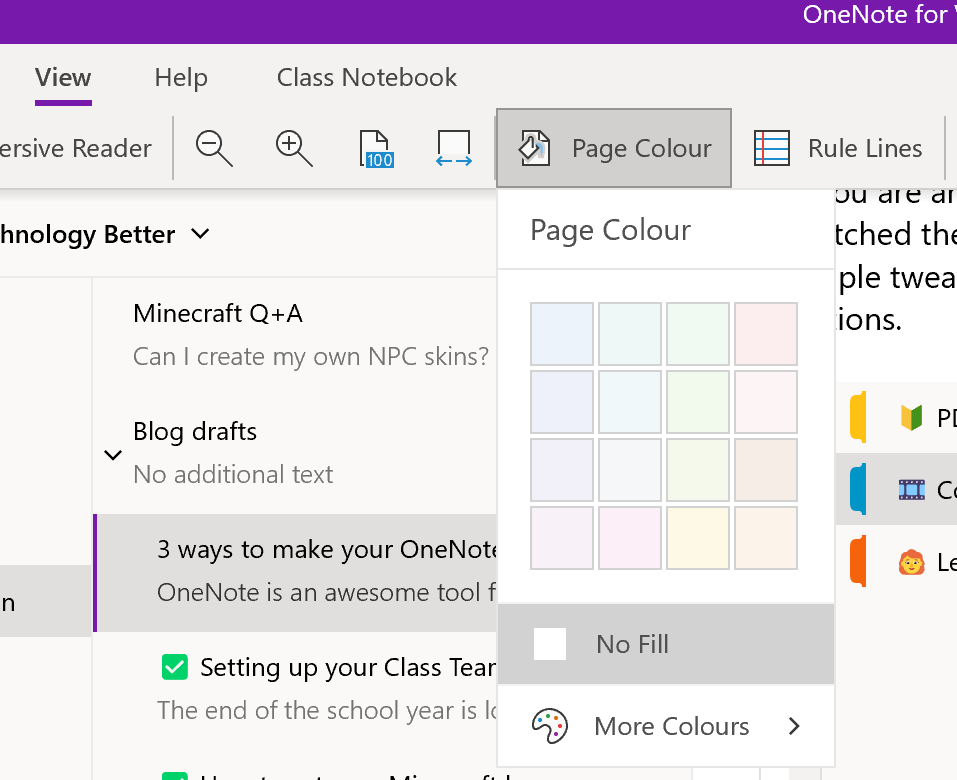
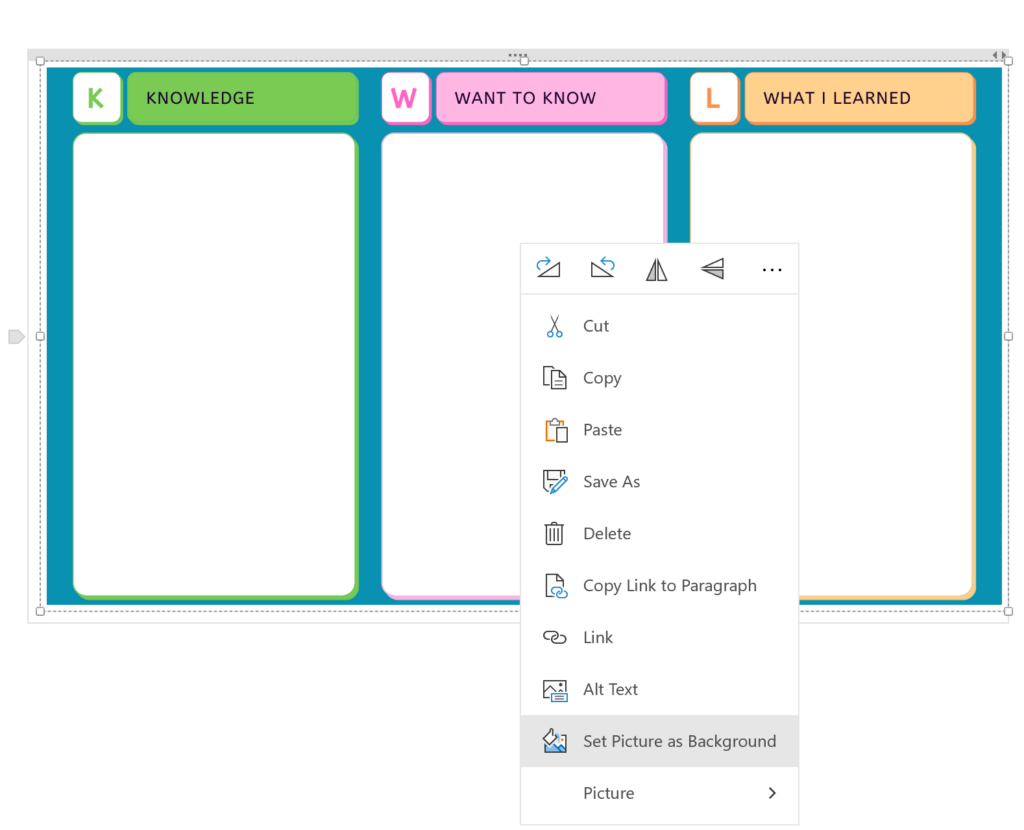
Why the Tool Isn’t the Problem… Your Process Might Be It’s easy to get
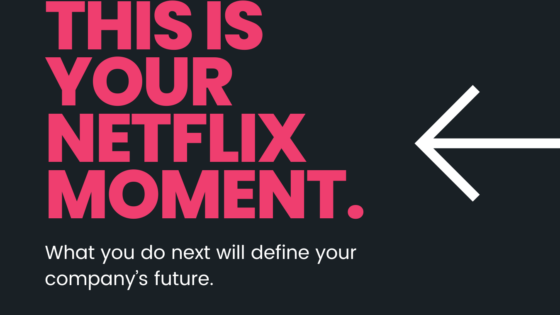
You’re Either Netflixing Your Industry… Or You’re the Next Blockbuster Let’s rewind to 2000.