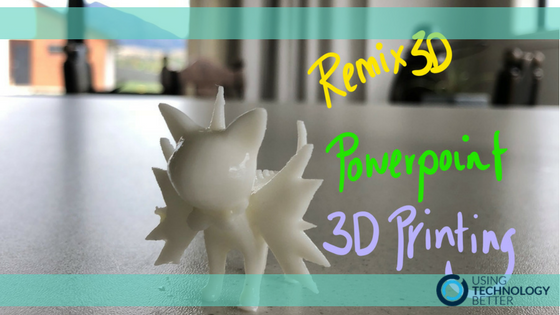
We want our students to be creating, not simply consuming content. This blog post is the third in a series about Microsoft Paint 3D and offers three ideas for how to share objects that have been created in Paint 3D.
Microsoft Paint 3D is a user-friendly tool that helps you and your students create unique objects in 3D. It will allow them to explore their creative ideas and develop spatial literacy.
If you haven’t yet explored Microsoft Paint 3D then you really should! Here’s two blog posts to help you get started:
Microsoft Paint 3D – Digital Postcards using Magic Select.
Creating a Model and using Mixed Reality in Paint 3D.
1) Sharing your creations in Remix 3D.
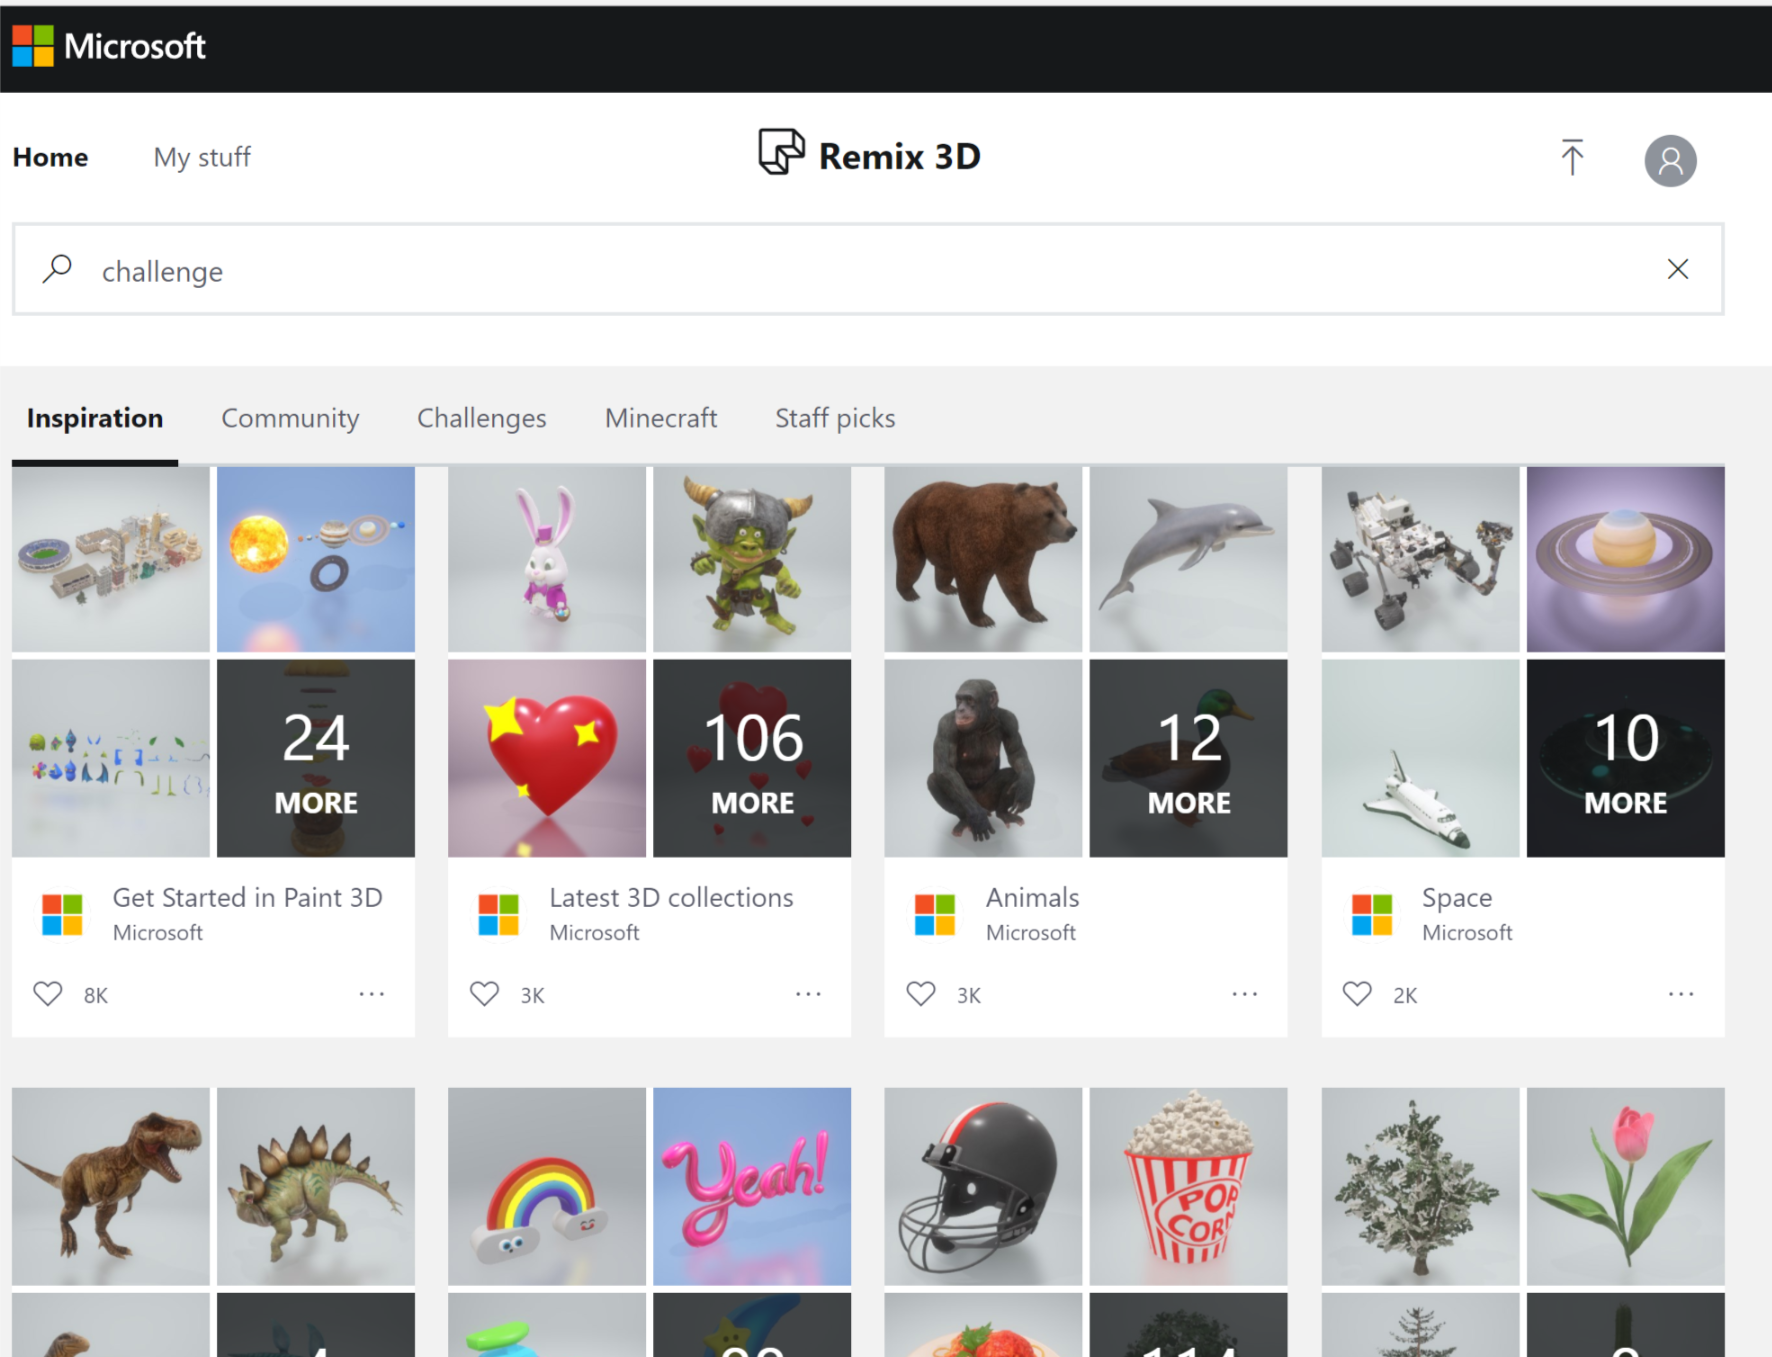
Remix 3D is a place where you can share your creations with the world. There are loads of things you can do in Remix 3D – including some really cool challenges which have been set by other people and encourage creativity and imagination. Upload your own creations and see if other people are inspired to download it or like it.
[bctt tweet=”Remix 3D is a great place for students to share their 3D creations.” username=”lara_kirk”]
2) Bringing your PowerPoint presentations alive with your 3D creations
One of the most stunning features of PowerPoint 2016 is it’s capacity to incorporate, and animate 3D objects in presentations. Even better – it’s super easy!
Animations
1.To bring your 3D object onto a slide go to the ‘Insert’ ribbon and choose ‘3D Models’.
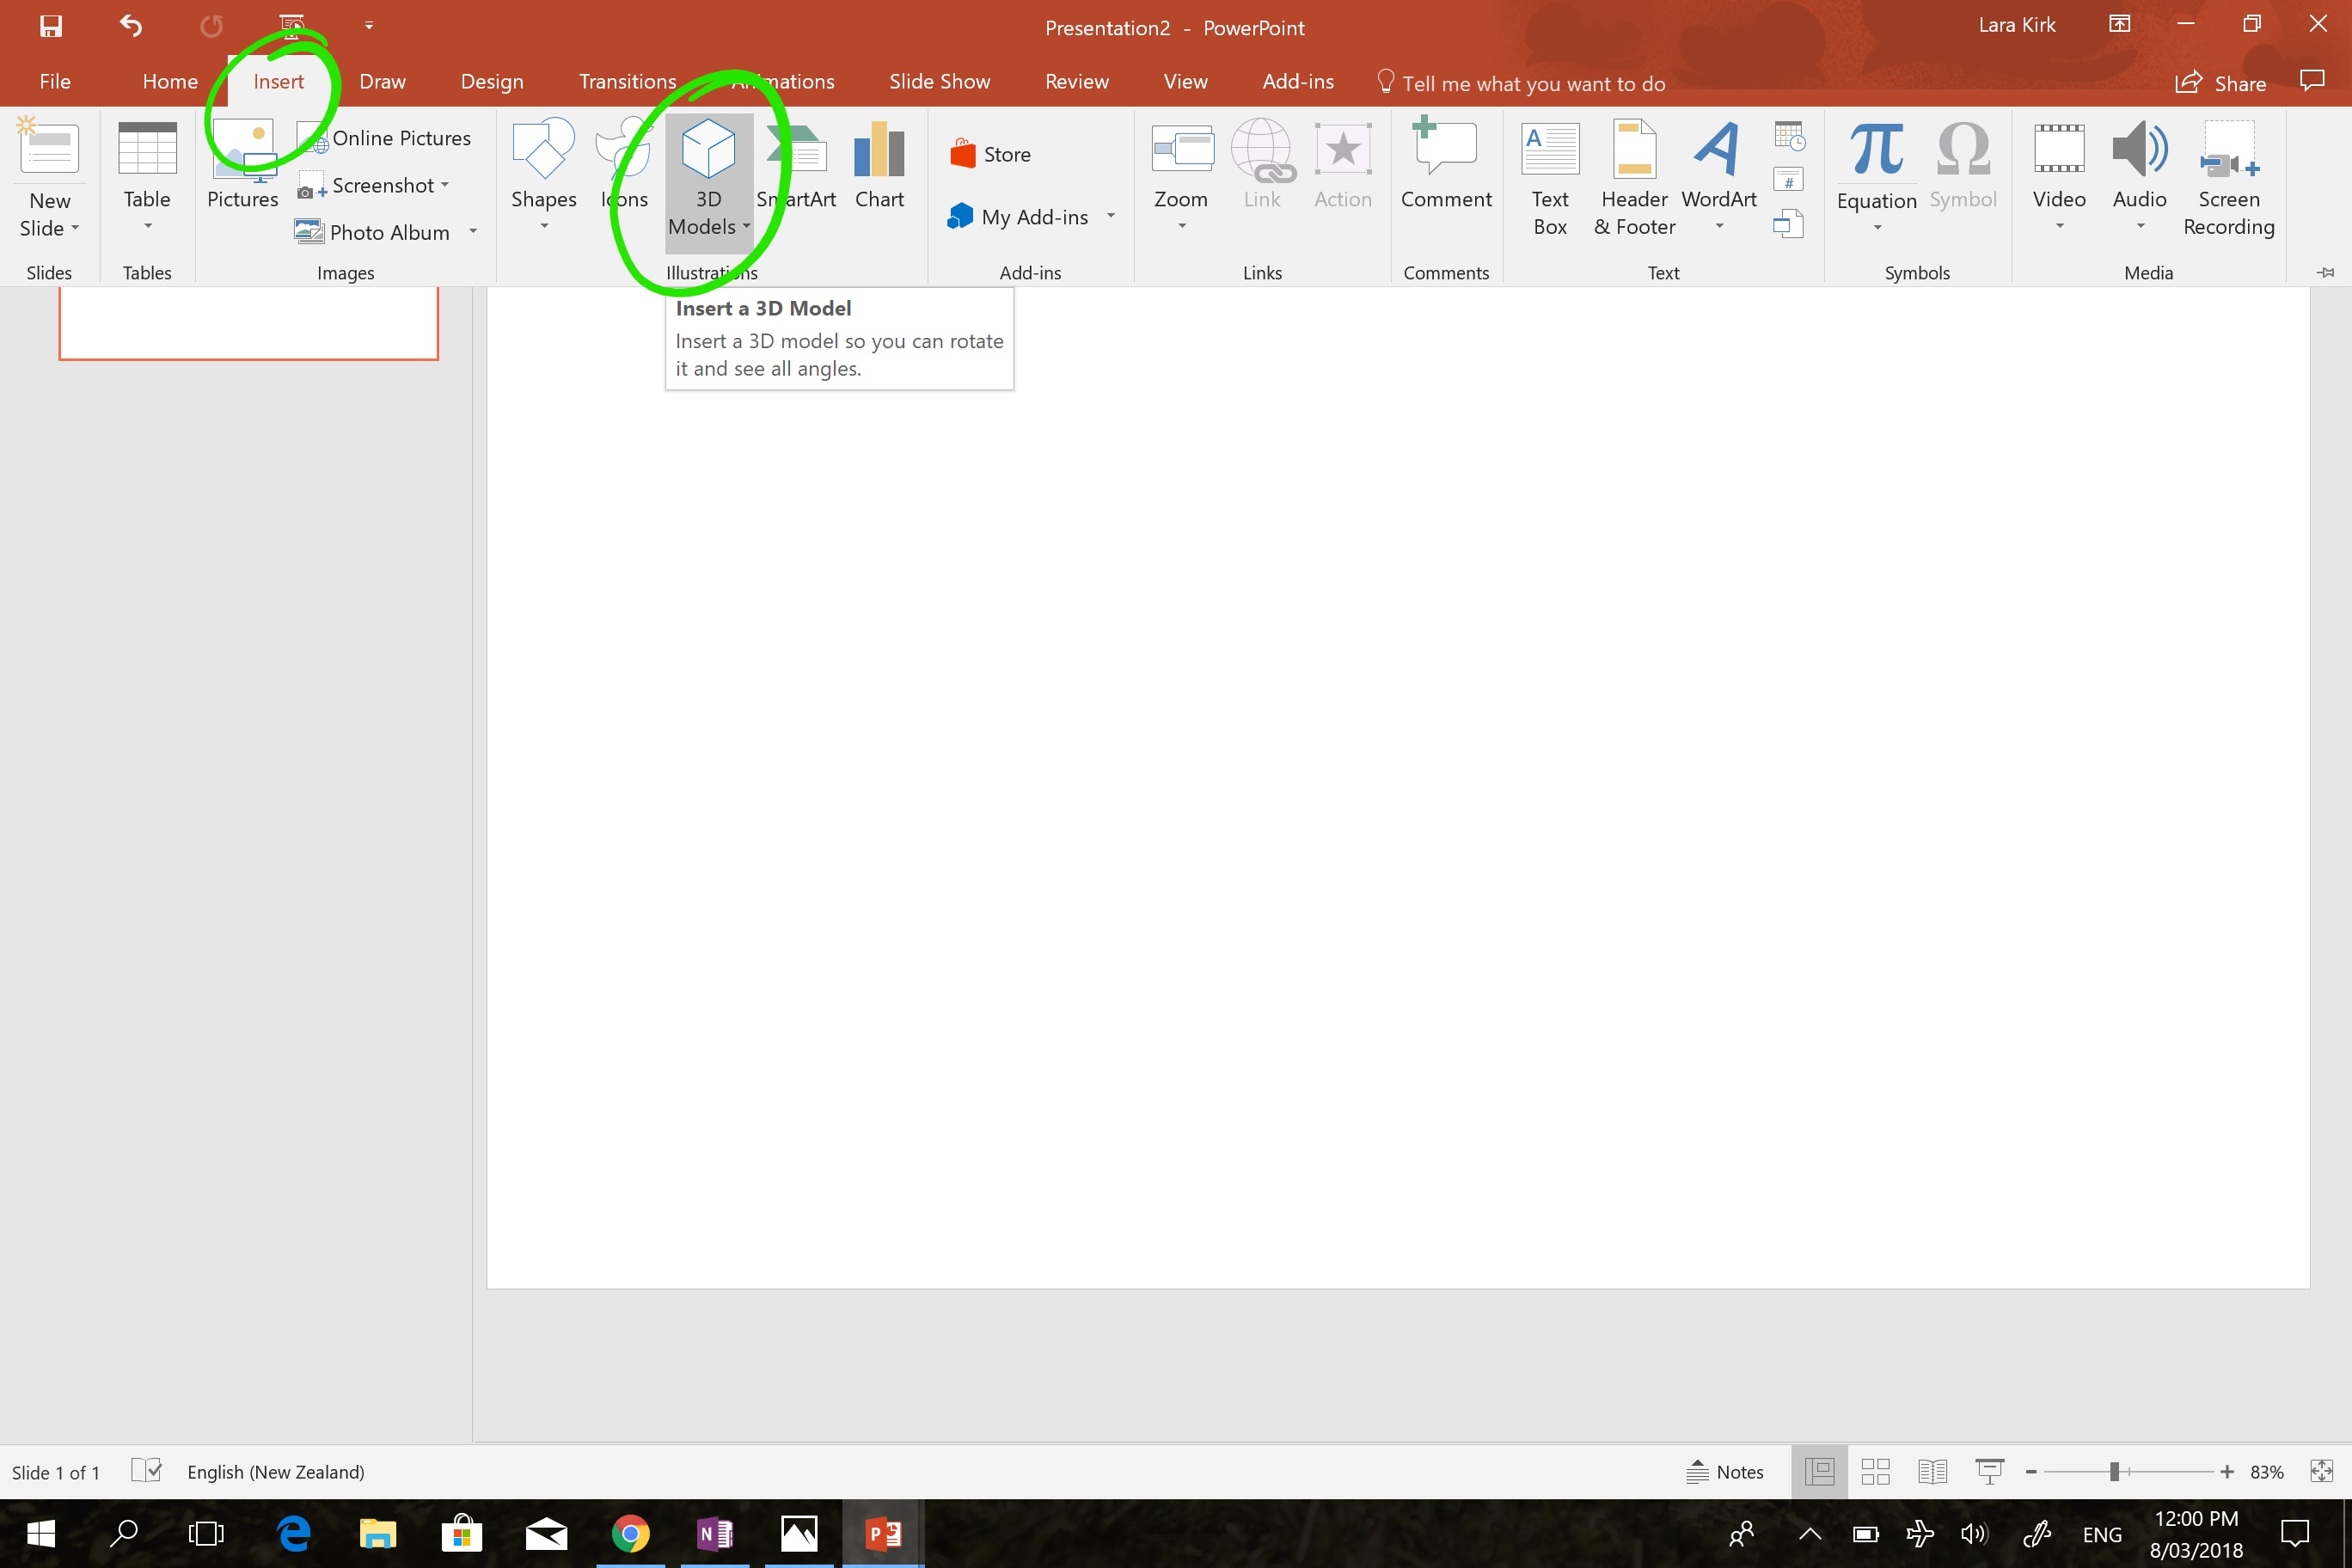
2.Go to File. NB: Make sure you saved your file from Paint 3D so you can find it!
3.Select the file.
4.Place it on the page and make sure you have selected it (the black line and white boxes will be around the object).
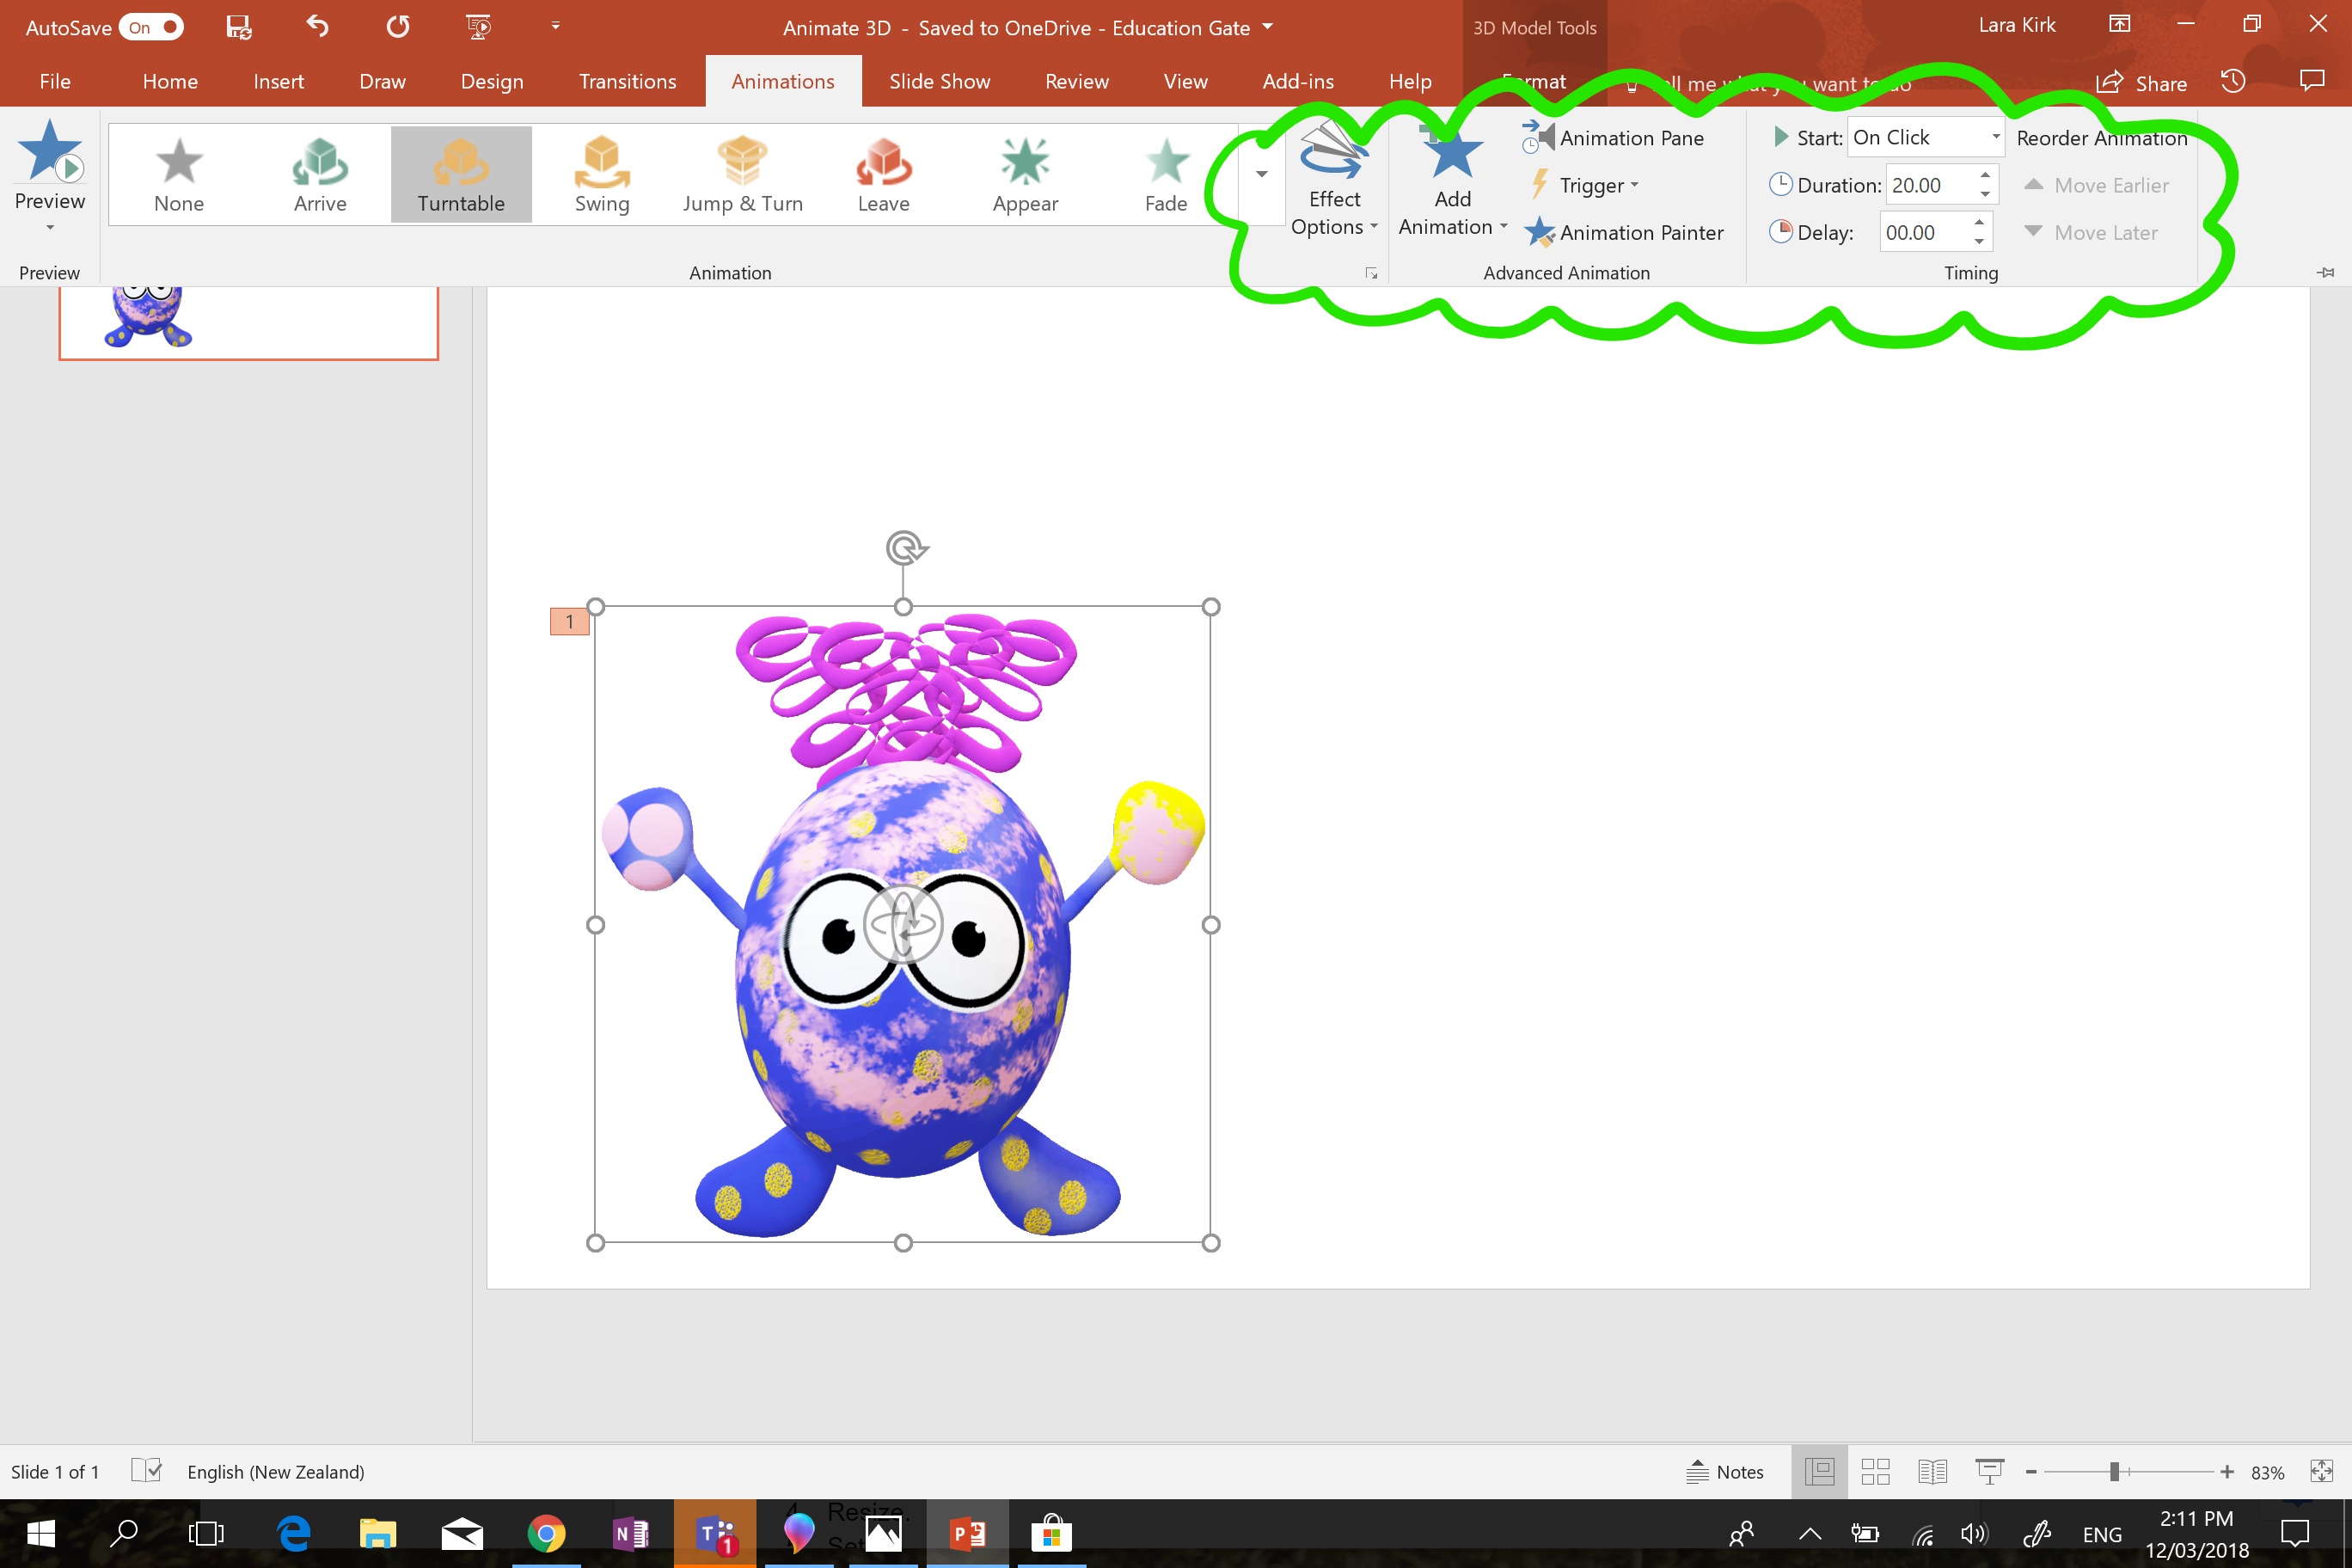
5.Go to ‘Animations’ and select which ones you would like to use. You can customise this using the options in the ‘Animations’ ribbon. Play with direction, time, trigger until you are happy!
MORPH Transition
Another cool thing you can do is add transitions so your object moves smoothly when you change slides.
1.Open or make a new PowerPoint file.
2.Select the ‘Insert’ ribbon.
3.Select ‘3D Model’ and choose ‘From File’.
4.Find the file you have created and saved in Paint 3D and click on ‘Open’.
5.You can turn your object around so it is viewed from different angles.
6.Duplicate your slide (Ctrl+d), move your object and change its view using the format ribbon.
7.Click on the object in the second slide, then the ‘Transitions’ ribbon and choose’ Morph’. This will create a beautiful transition within your slide, moving your object from its original location and perspective to the new one.
8.Repeat this as many times as you like, adding in text to describe the different perspectives.
This short video shows what the animations and Morph transition look like.
[bctt tweet=”It’s so easy to add impact to your presentations with 3D animations.” username=”lara_kirk”]
3) Printing on a 3D printer
As the cost of 3D printers decrease, the amount of them in schools is increasing. Finding relevant ways to use them can be a challenge. Now that you know how to create 3D models with yourstudents – why not bring these to life by printing them out.
1.Open your 3MF file in a programme like Microsoft 3D Builder.
2.Select all.
3.Repair.
4.Resize.
5.Settle.
6.Save as STL file.
7.Follow your 3D printer software instructions to print your creation.
Watch this video for full details of this process.
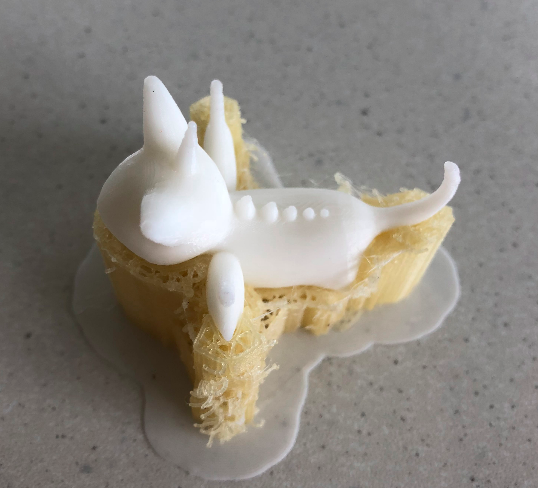
If you have finer parts in your object, the printer will print supports for it. Usually these are easily dissolved in warm water but check your printer instructions for details.
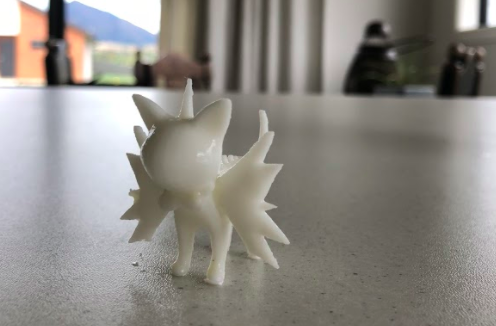
Without supports.
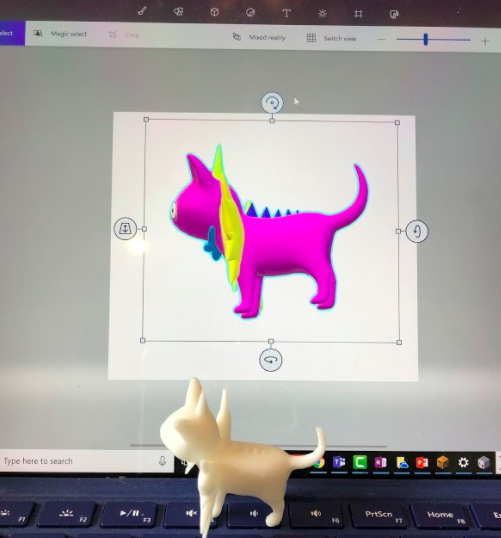
Meeting on the screen.
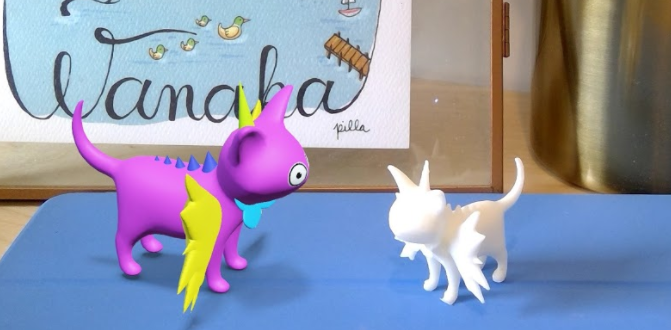
Meeting in Mixed Reality.
Having an authentic purpose for using these tools is always so important. If you can combine this with an authentic audience as well you are creating valuable learning opportunities for your students.
For other great tips and ideas make sure you check out the UTB website or download the app (iOS or Android).
